
In this article we will aim to give you a better understanding of the mould remediation process and the general steps involved.
So lets get started. You get a phone call from your tenant, saying he has spotted some mould growth in his unit and wants you to have it cleaned up immediately before he starts getting “sick”. By this point we would bet that he has already done a google search on mould and the health impacts it could have on a person, naturally you can see how one might get worried.
Now, unless you have gone through this process before, we don’t expect you to know much about how to handle this situation and what is involved.
At this point the first step is to call your go-to property restoration company, as this is a process that needs to be dealt with properly and professionally. We highly discourage you from calling a handyman type for this project as you can open yourself and your property management company to liability, legal issues, and possibly lead to health issues for those involved if not handled correctly.
Once you have contacted the restoration company here is an insight of how the remediation process should go. You should note that procedures will likely vary between different restoration companies as their training and expertise will also vary.
However, the goal of the mould remediation process is to safely remove the contamination on surfaces and materials it is growing on.
The Steps in the mould remediation process include:
- Identification of water source – The source of the water needs to be identified and stopped in order to prevent future mould growth.
- Air quality testing – This step is not always required and can be determined on a job to job basis depending on the severity of the situation. Ideally, all remediation jobs should be monitored however it does add more cost to the job and on smaller projects, it may not be needed. That being said for larger remediation jobs, situations where legal issues could arise, and health issues are a concern, air quality testing should be done before the remediation starts and after it is completed.
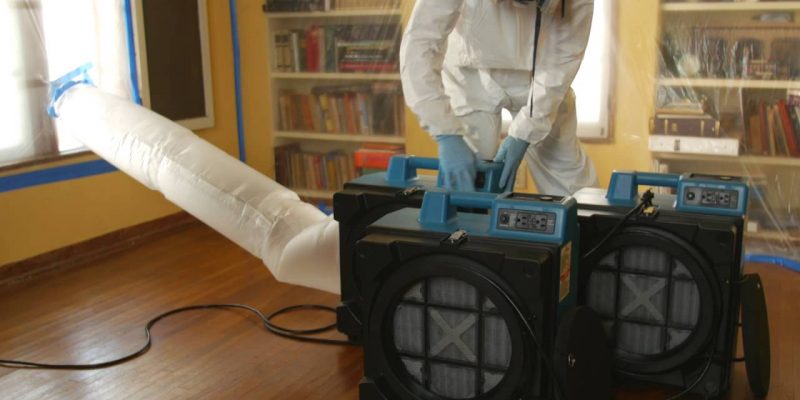
- Containment and control – This is the process of controlling the spread of mould spores and prevent further contamination to surrounding areas. This can be achieved through source containment which is done by applying poly sheeting over the mould growth or by building larger containment chambers that isolated the work area from the rest of the home or property. The containment method chosen will be determined by the restoration contractor and by the size of the remediation job. The use of air filtration devises containing HEPA filters (AFD’s) should also be used in the containment and or work area in order to control further spread of air borne mould spores.
- HEPA Vacuuming – This step helps clean up any larger particles that may be present and spores that have settled on surfaces in the surrounding areas. This should only be done with vacuums containing HEPA air filters
- Removal of Contamination – Here any materials that have mould growth will be removed or cleaned accordingly. Any and all drywall containing mould growth will need to be removed and disposed of as it cannot be salvaged. Building materials such as wooden structural beams will not be removed but require thorough remediation and cleaning, this will usually include a combination of sanding and or wire brushing while HEPA vacuuming to remove all mould from surfaces.
- Cleaning – This is the process of cleaning and wiping all areas affected by the mould growth, including areas that have been sanded and vacuumed. This is done by damp cloth wiping contianing a cleaning agent
There you have it, a quick glimpse into the mould remediation process. You should also know that proper mould remediation can be costly as there are many steps involved, specialty supplies and equipment is needed, and industry training and experience is required.